A low profile lamp designed
specifically for SMD rework
by sv3ora
This lamp has been specifically designed for SMD rework in the lab. Main issue was the cost, which had to be kept very low. The lamp had to have a low profile, so that it does not get in the way when I try to concentrate on these tiny SMD parts. The schematic of the lamp is shown below.
 |
SW1a |
|
|
BD436 |
|
|
|
|
|
|
|
|
|
|
|
|
|
|
|
|
|
|
|
|
|
|
|
>3.2v |
|
|
 |
 |
 |
|
|
|
|
|
|
|
|
|
|
|
|
|
|
|
|
|
|
|
|
|
|
|
 |
4.7k |
|
1k |
|
330p |
|
|
|
|
|
1F |
 |
 |
120 |
|
|
|
|
|
|
|
|
|
|
|
|
 |
 |
 |
|
|
 |
 |
|
|
|
1k |
|
 |
|
|
|
|
|
|
|
|
|
|
|
|
|
|
|
|
|
|
|
2.2k |
|
|
|
|
|
|
|
|
|
|
|
|
|
|
|
|
|
|
|
|
|
|
|
|
PN2222 |
 |
|
 |
 |
3v1 |
|
1500uF |
|
SW1b |
|
|
|
|
|
|
|
|
|
|
|
|
|
|
|
|
10k |
|
|
|
|
|
|
|
|
|
5 |
|
|
|
|
|
|
|
|
|
|
|
|
|
|
|
|
|
|
|
|
|
|
|
|
|
 |
|
|
|
|
|
|
|
|
|
|
|
|
|
|
|
|
|
|
|
|
PN2222 |
|
|
|
|
|
|
|
|
|
|
|
|
|
|
|
|
|
|
|
|
|
|
|
|
|
|
|
|
|
220 |
|
|
|
|
|
|
|
|
|
|
|
|
|
|
|
|
|
|
|
|
|
|
|
|
|
|
|
|
|
|
|
|
|
|
|
|
|
|
|
|
|
|
|
|
|
|
|
|
|
|
|
|
10k |
 |
|
|
|
|
|
|
|
|
|
|
|
|
|
|
|
|
|
|
|
|
|
|
|
|
|
|
|
|
|
|
|
|
|
|
|
|
|
|
|
|
|
|
|
The LEDs are driven in parallel so that only a small voltage (3-3.2v) is required, for example from two series AA batteries. The regulator allows a common jack wall to be used and the input voltage is irrelevant, since the regulator automatically converts that voltage to the nominal voltage for the LEDs.
Apart from the automatic voltage regulation, I have also added a simple circuit to smooth start up and shut down the lamp. This creates a nice and pleasant effect to the eye. Note that, SW1 must be connected so that when SW1a is closed, SW1b is open.
Note that you can
build this lamp totally without a regulator, if you have a suitable
jack wall providing 3.2v max. In that case use just the LEDs section of
the lamp. A series power resistor is a simple driver for the LEDs when
these are driven by a higher input voltage.
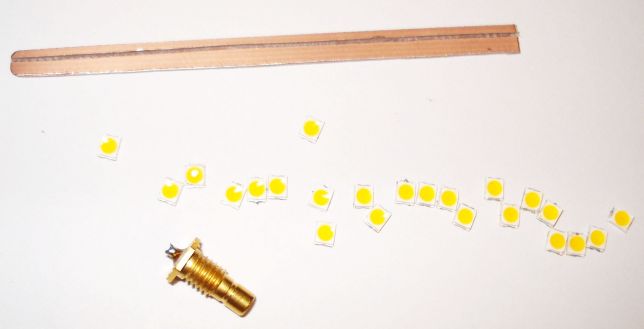
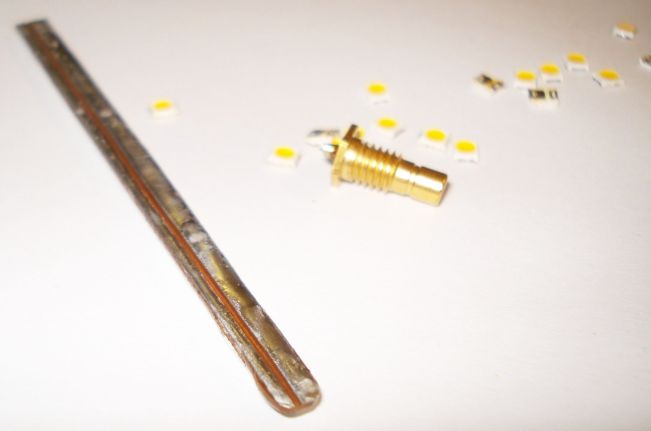
I got the SMD LEDs out of a failed led lamp (the PSU had failed). I cut a small piece of double-sided PCB and removed a line of copper from it. This creates the two poles for the LEDs.
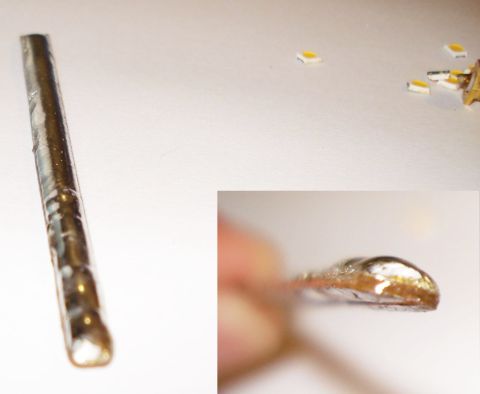
The top of the double-sided PCB was filled with solder (lead-free!!!) to add a bit of optional mechanical rigidity and a nicer look.
The bottom of the double-sided PCB was tinned as well and the LEDs were soldered paralleled and close together.

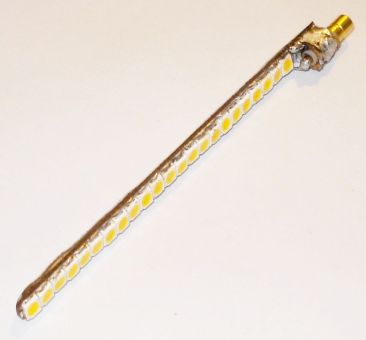
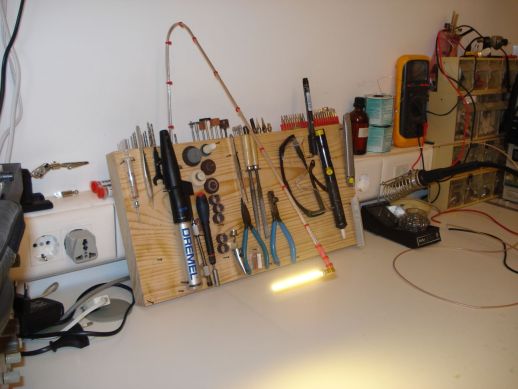
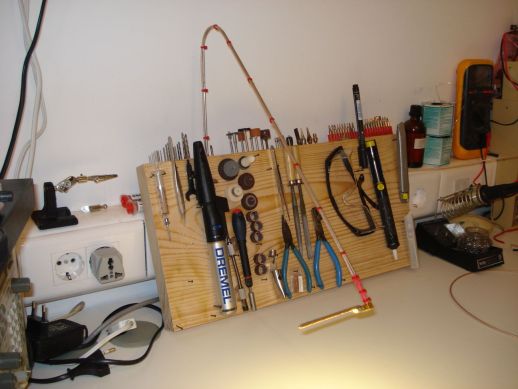
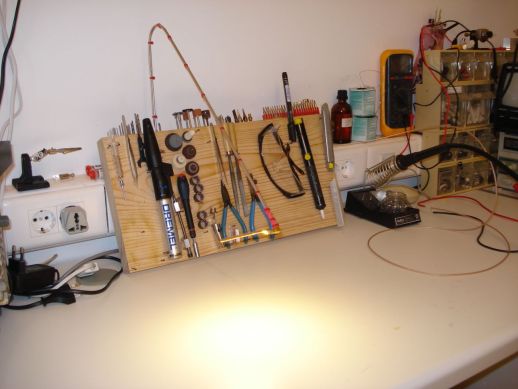
An SMB connector was used to connect the LED bulb to the lamp arm. The SMB connector is very small and at the same time it allows for the bulb to be easily removed and also to be easily positioned at any angle (360 degrees) without the need to reposition the arm or disconnect the power.


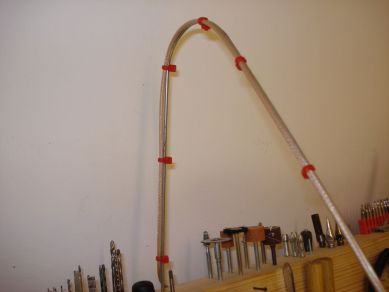
The lamp arm, was made out of an old cheap clothes hanger. A piece of thick steel wire will do as well, as the lamp is very light.
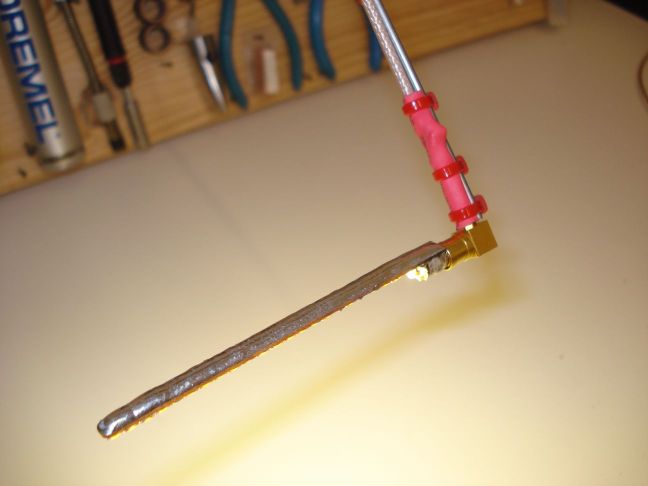
A thin coaxial cable connects the bulb to the regulator. The regulator is at the base of the lamp (not shown in the pictures) and it fits inside a small metal enclosure. The BD436 is mounted on this enclosure, which is used as heatsink, with an appropriate mica sheet.
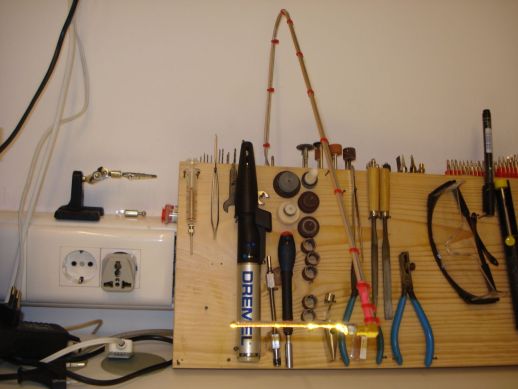
You can made a custom base for the lamp if you like, but in my case it was enough to mount the arm inside a hole in the wooden plate I use as tool holder. This allowed rotation of the arm of the lamp, so I can move it away if I do not need it.
Tie wraps are used to keep the coaxial cable tight onto the arm.